Unleashing Your Inner Artist: Painting Your Xbox Controller
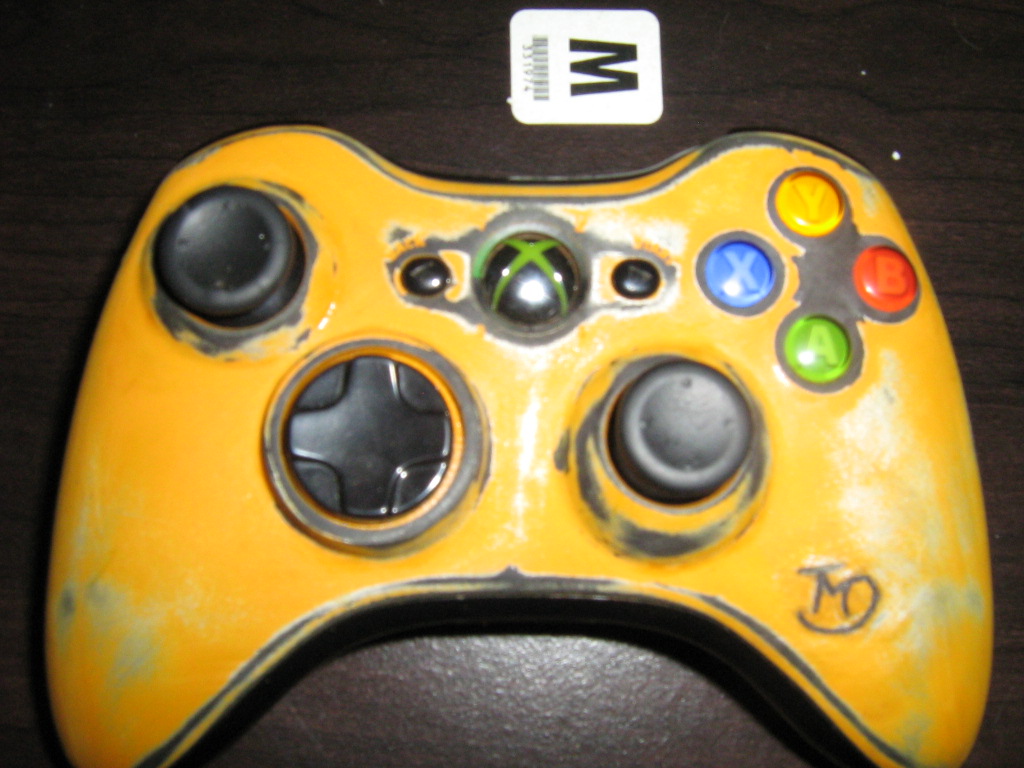
"A blank canvas, waiting for your touch!" This is how I felt when I first saw my plain old Xbox controller. It was just… plain. So I decided to do something about it.
Why Paint Your Xbox Controller?
- Adds personality, making your controller unique.
- Creates a stylish, cool vibe (if you ask me, of course!)
- Lets you express your love for games, music, art.
Choosing Your Supplies
The right materials matter!
Painting Essentials:
- Acrylic paints: They dry quickly and are easy to use. A must!
- Primer: (Crucial step) Helps the paint adhere and prevents peeling.
- Brushes: Different sizes for various details. Somethin' for each task!
- Protective sealant or varnish: (This keeps it all lookin' great)
Other useful things (the extras!):
- Sandpaper: For smoothing imperfections, (it makes it look nicer, honestly).
- Painter's tape: To mask areas, make intricate designs (pretty easy).
- Water and cloths: Simple! A MUST (duh).
- Palette: To mix paints neatly (mix colors smoothly)
Some Other Alternatives
Some use spray paints, but sometimes acrylic is better because of coverage.
Prep Work: Getting Started!
-
Clean the controller thoroughly, (wash with soap and water), getting rid of any dust, grease, (yuck).
-
Cover your workspace, you don't want messes all over!
-
Apply primer. Let it dry completely as the instructions say.
Designing Your Dream Controller
Brainstorming your vision
- Your favorite game character? (maybe your fave character from Spiderman?)
- Your preferred colors? (maybe something bold)
What's in your heart is what your controller needs! A simple idea? Awesome! A cool design that you created? You can paint it with your own twist! You want your gamer style! You want that Xbox controller! That's you!
Sample Designs: (Inspiration time!)
- A simple color scheme (that could even have a color theme).
- A picture from one of your favorite video games.
- Custom illustrations or illustrations that tell a story or that remind you of your best gaming memories
- Floral designs, nature designs
- Maybe something about the time you first won! You won! A medal that made you cry for joy, but a great experience!
How To Proceed
Use reference pictures for intricate designs! I personally use drawings for complex creations, and find a lot of inspirations! If you are painting a picture of the new Batman (with his new bat suit), you need reference pictures to get the colors, and the shades right.
The Painting Process

Source: wikihow.com
-
Sketch your design onto a separate sheet first, (that makes it easy to have a rough idea). You can add more details during this sketching! This would include colors! I personally do it!
-
Paint in the basic shapes and colors (make sure colors look nice)! Use references! It can help you visualize your colors, your theme.
-
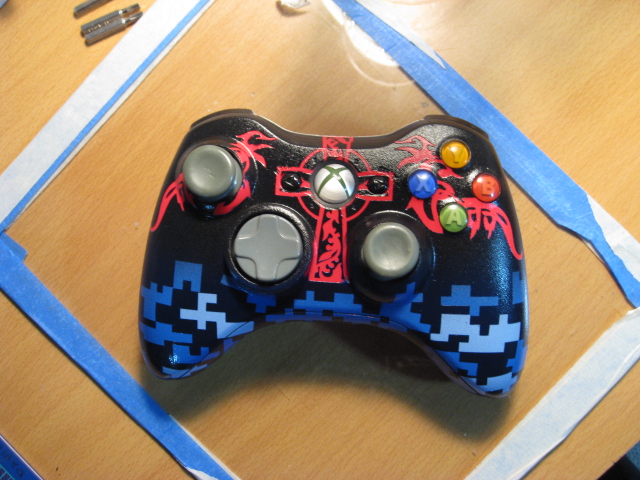
Once the base layer is set, start adding your desired decorations or patterns, or other decorations, (incorporate themes of designs!). It would enhance the color.
Mistakes Happen
Things happen during this painting process. You might end up putting the paint in a wrong spot, and ruin your painting. Don't be discouraged! You'll learn by trying to repaint things (in certain ways) that go awry. Mistakes add to a unique charm that brings individuality to the controllers!
Applying Sealant (A Protection for your masterpiece)

Source: wixmp.com
This step will preserve your artistic creation and maintain it for a longer period of time! Applying sealants prevents your amazing creation from becoming ruined! It’ll be good for a long, long time.
-
Choose the appropriate sealant for your paint, I would probably select one recommended in the packaging or recommended online. There's no problem. That one you see can work!
-
Apply the sealant evenly (make sure you use smooth motions)!
-
Allow the sealant to dry for an ample amount of time as prescribed by the packaging (make sure it looks amazing)!
Let's Look at Others!

Source: redd.it

Source: wixmp.com
A Reddit user discussed their experience, they said the paints worked pretty well with this controller (not having an issue at all), which gave me a lot of motivation, and hope. Other people suggested specific paint brands, or types (not only the paints) based on experience, and these worked! Different techniques and ways could work to enhance what the controllers can look like! It can be interesting!
Some FAQs (frequently asked questions). These could save time
-
What paints are safe to use?
- Acrylic paints are highly recommended. (Use other recommended safe paints and check reviews!)
-
How long does it take to dry?
- Check the specifics on the paint containers for drying times. (Check the instruction booklets if the packaging has any!)
Final Thoughts! (Closing the Book On Our Work)
Painting your Xbox controller is a fulfilling creative activity that transforms an ordinary game tool into a customized personal item, which reflects you. This is important! Take it in stride, enjoy your work. I believe if you follow the step by step guide on creating and personalizing an awesome controller, it would take you very long! The effort you would put would take quite some time, This might not be a simple process. It’ll take some work, and perhaps many trials, and you will also want to see how it turns out, right? Let's not give up too easily! Let's be encouraged to learn! Have an amazing journey on customizing your awesome Xbox controllers!
(By the way, this controller painting thing actually boosted my mood. It's amazing how creative expression helps!)
